Quotation

In fact, instead of calling challenges, let’s call S U C C E S S F A C T O R S.

Switch to

Martin's Learning Hub

Sunday, August 23, 2020

Event & Event Derivation Rules


Event & Event Derivation Rules

 What is Event?

Employee Hire to Retire/ In between Employee Life cycle many big events happens for Example:

Event (Actions)

Event Reasons

Assignment

Assignment Completion

Job Change

Completion of Probation

Data Change

Demotion

Furlough

Hire

Job Reclassification

Leave of Absence (used for time off activities)

Pay Rate Change

Position Change

Probation

Promotion

Rehire

Return from Disability

Return to Work (used for time off activities)

Suspension

Termination

Transfer

Add Global Assignment

End Global Assignment

Obsolete

Start Pension Payout

Why hiring an employee

Business Expansion

Replacement

Death

Retirement


Below are the screenshots of Events list.


Once you upload the standard picklist/the events will appear in the Picklist.

In SAP SF, the event labels can be changed but the external codes cannot be changed at configuration time. If it is changed the entire system will be corrupted.

In SF we cannot create any custom events we have to use the standard events which are available. In SF there are 29 events which are pre-defined.

For any custom events, SF provided to change the existing event label and we can use, but intent remains same.

What are Event Reasons?

Event reason is an activity derived from events that drives changes in employee data. Actions taken in the Employment Profile are based on the client requirement.

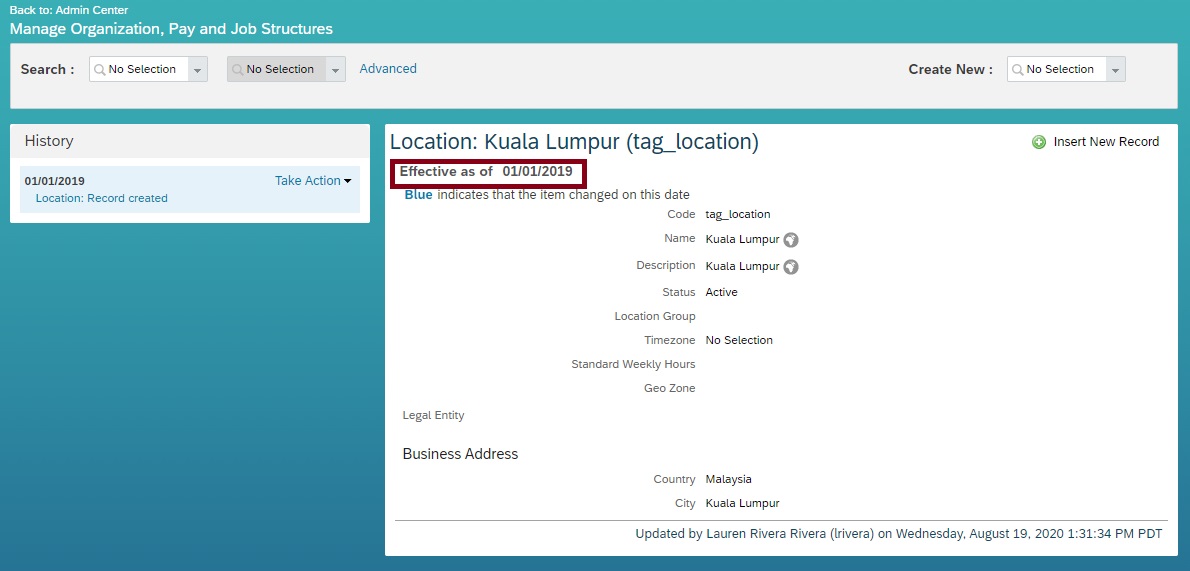
Event reasons is also a Foundation Object. We can search action as Manage Organization, Pay & Job Structure >> Create New Event Reason.


Provide the values for the following fields:

>>Effective as of     - From when should the event reason be effective or visible in the system.

>>Event Reason Id - A unique id for the event reason

>>Event Reason Name - Name for the event reason

>>Status - Event Reason status (Active/Inactive)

>>Event - The event that needs to be mapped to the event reason (The events are defined in Picklist Management)

>>Employee Status – The status of the employee when this event reason is selected in his job info portlet.


We can create end number of Event Reasons in Event ID’s and always select the Active Option.


Once you have created the event reason, you will then have to permission the event reason by doing the following

Admin Center > Manage Permission Roles

Choose a role > Click Permission

Search action as Manage Permission Roles >> Permission Role List << Configure Business Rules >> Create New Rule >> Basic >> Role Name.


Go to the Employee Data Section > Event Reason > Grant Permission to Event Reason > Save


How do we create Business Rules in SuccessFactors? Go to Admin Center >> Configure Business Rules


In Basic Object you have two drop down values:

  • Job Information (Change Field)
  • Job Information Model (Specific Value) For Event Reasons Always go with this option.


Go to Manage Business Configuration >> Job Information


These are the basic understanding of Event and Event Derivation Rules Concept. 

Workflow Derivation Rules


Workflow Derivation Rules


What is Workflow? Approvals/Checkpoints

In the SuccessFactors Employee Central system, a workflow is a sequence of connected steps that allows approval by or notification to individuals of changes to data within the system. It enables specific data changes to an approval process involving one or more individuals, either as approvers, contributors, or recipients of the workflow activity.

Workflow is also a Foundation Object.

New workflow can be set up through Admin Center->Employee Files-> Manage Organization, Pay and Job Structure and create New Below is the screenshot.


Each field in above workflow screen defines certain value to be entered.

There are 2 level people and same can be enhance to 3 level 4 level approvals

  • Approval 1/Step 1
  • Approval 2/Step 2

Review the data/approve the data or reject the data is approvals.

Apart from the approvals you have 2 more people involved in the workflow.

  • Contributors
  • CC Roles

These roles receive alerts/notifications

Contributors: Contributors can give the guidance to the approvals, but they cannot give approval or reject for e.g.: HOD and HR/Give the end results. They can view all the activities by the approvals, and they can give some comments.

Contributor can be – A Role, Dynamic Role, Dynamic Group, Position or given Person

CC Roles: Data changed in approvals should be notified by the HOD's or HR's/Once all the approvals are been done whether the approvals are approved or rejected in one line email will be trigger and sent to the person for the notification purpose. Those are called CC Roles.

CC Role can be – Dynamic Role, Dynamic Group, Position or Given Person or an External Mail

So, these are the 3 active participants in the SAP SuccessFactors Employee Central Workflows.

Properties of the Workflow:

  • Remind in days
  • Delegate
  • Alternative Workflow
  • Escalation

Remind in Days: Reminder Notification will trigger upon the date fixed for approvals. For every 24 hours it keeps reminding.

Delegate: When you do not have an idea or unable to take a decision on the workflow approval/Push the workflow to someone and ask them to do on your behalf

In Delegation you have 2 types of delegations.

  • Individual workflow delegation
  • Mass workflow delegation

Alternative Workflow: Future dated records will be created in an alternative workflow.

Escalation: Escalation Path/After the period of 7 days reminder completed it will be escalated to the higher person.

Note: There is no auto approval concept in SAP SF/ If it is after 200 days also, it must be approved by someone.

Attributes for each approval:

Deriving the approvals

Take Action & Make correction

5 types to derive an Approval:

  • Role
  • Dynamic Role
  • Dynamic Group
  • Position
  • Position Relationship
Under Role based you have 7 types of roles

  • Manger,
  • Managers Manager,
  • Matrix Manager,
  • Custom Manager,
  • Second Manager & Employee HR.


SuccessFactors EC Standard Workbooks


SAP SuccessFactors EC Standard Workbooks:


We have 6 EC standard Workbooks in SAP SuccessFactors Employee Central Module.

  • Foundation Objects workbook
  • Employee Data workbook
  • Benefits Administration workbook
  • Time Off workbook
  • Position Management workbook
  • HR Transactions workbook

All workbooks are in Excel format and they are SAP Predefined sheets. We can download the workbooks from help.sap.com

Give a presentation to the clients about SAP SF EC.

Gather the requirement from the client. (Workshop takes 2-3 weeks of time to gather the information).

Update the workbook and once workbook updating is done

Take a Sign Off from the client (Iterative Approach 1)

Update the System

Workbook Update>Sign Off > (Iterative Approach 2&3)

👉SAP Best Practice can go with max 3 Iterative Approaches.

👉Data Migration can be done from Old System to New SAP SF System.

Proxy Management In SF


Proxy Management:

Important Points to be Noted:

This proxy feature access is given only to the Super Admin or the HR person and not for the end users because there is a high chance of misusing this feature.

Example: (If you grant the proxy right to someone with less rights be aware that you might give him view or edit access to the data such as compensation data that the user did not have before) which might Impact on their Regular Business.

  • 99% companies avoid this proxy feature
  • End user point of view the proxy is not been used but,
  • Consultant point of view proxy is been used and it is important for the testing purpose.

 What is Proxy?

The person who is given access to an account is called the Proxy.

Example: (Sometimes there could be the need to have another user to perform your tasks in SAP SuccessFactors Employee Central.)

Example: When you are on leave for a week and you have pending approvals. To approve those requests this proxy feature is useful.

Once the Role Based Permissions given access to the proxy tab, then you can set a Proxy.

Before assigning the proxy, download the existing user data from the tool called Employee Export.

>>Go to Export User Files

>>How to assign the Proxy: For Individual?

>>Go to Admin Centre Search for the tool called Proxy Management >>Under Make Assignments >>Grant Proxy.

Who will act as the proxy(username):

What account holder will the proxy act on behalf of (username)

Once you given the usernames to whom you want to be the proxy >> Go to Grant Proxy Rights

Grant rights to the following modules/tabs: For Example: Grant Access to All Modules or Individual module based on your requirement and Save (Saving will grant proxy access as per above criteria selection.) & Confirm.

Once the changes made and the same data can be checked in the Look Up Existing Assignments.

Find the proxy for an account holder.

Account holder (username):

Proxy:

Find the account holder(s) assigned to this proxy.

Proxy:

Account holder (username):

Below is the screenshot for the all above steps:


Friday, August 21, 2020

How to Create Organisation Structures?


How to Create Organization Structures?

In SuccessFactors Employee Central

The Organization Structures has legal Entities, Business Units, Divisions, Departments, Cost Center and Locations.

These are the basic MDF Objects in SF Employee Central to create the organization structures.

All these objects should be configured in the >>Configure Object Definition << and proper permissions settings should be given to create the MDF Objects in the System. And to provide permissions we need to go to the specific roles called MDF Foundation Objects.

Under the MDF Foundation Objects you need to give the permissions to create the objects.

For giving Permissions we need to search for Action tool called >>Manage Permission Roles<<


Based on the permissions you can select the required fields for every MDF Object which comprise the Org Structure.

Once the permissions provided to all these objects you can go to the Admin Center >> Employee Files >> Search for the Action Tool called >>Manage Date << to create all these MDF Objects one by one.

 First, we will go with the Legal Entity:

Create New: Legal Entity


Start Date: 01/01/2019

ñ        From Which date the Legal Entity should be available to the HR Department or the Payroll Department to hire the new employee under this legal entity. So that HR Department will not have access to hire an employee before this date.

Legal Entity ID: TAG_Legal_Entity

Legal Entity Name: Tech Matrix

Company Description: Tech Matrix Consulting

Status: Active

Pay Group:

Weekly Hours: 45

Currency: Malaysia Ringgits (MYR) (Employees will be receiving the salaries in Malaysian Ringgits.

Country: Malaysia (MYS)


Second, we will go with the Business Unit

Now I have different Business Units under the Legal Entity. So, to create the Business Unit, Go to Admin Center >> Employee Files >> Manage Data >> Create New Business Unit.

Start date: 01/01/2019

Business Unit Code: TAG_Business_Unit (5000204) Code Generated Automatically

Business Unit Name: Tech Matrix Office

Description: Tech Matrix Office

Status: Active

Head of Unit: N/A

Legal Entity Section: N/A


We will go with the Division

Start Date: 01/01/2019

Code: TAG_Division

Name: Human Resource

Description: Human Resource

Status: Active

Location: Kuala Lumpur (tag_location) which we have created in Manage Org, Pay Job Structure as the Location falls under Foundation Object (FO)


Head of Division: N/A

Parent Division: N/A

Business Unit: Tech Matrix Office (5000204) which we have created Business unit in Manage data earlier.


Once the Division is created

Will go with the Department

Start Date: 01/01/2019

Code: 5000205

Name: Payroll Department

Description: Payroll Department

Status: Active

Head of Department: N/A

Parent Department: N/A

Cost Center: N/A

Division: Human Resource (TAG_Division) Which I have created earlier

Legal Entity: Tech Matrix (TAG_Legal_Entity) Which I have created earlier


Once the Department is created

We will go with the Cost Center

Effective as of: 01/01/2019

Code: 1234

Name: tag_cost_center

Description: tag_cost_center

Status: Active

GL Statement Code: N/A

Parent Cost Center: N/A

Cost Center Manager: N/A

Cost Center ExternalObjectid: N/A

Legal Entity: Tech Matrix (TAG_Legal_Entity) Which I have created earlier


Once all the MDF Objects like Legal Entity, Business Unit, Location, Division, Department and Cost Center has been created in the system, now we can create a new Position using the MDF Objects we have just created.

We will go with the Position

Position Code: 3001025

Start Date: 01/01/2019

Select Job code:

Change Reason: New Position

Job Title: HR Professional

Position Title: HR Professional

New Position Code Title:

Position Description   

Position Type: Regular Position (Regular Position)

FTE: 1

Mass Position: No

Critical Position: Not Critical (0)

Position Incumbent    

Parent Position          

To Be Hired: Yes

Employee Class: Active (1)

Pay Grade: Salary Grade 06 (GR-06)

Job Level: IC - Non-Manager (IC)

Regular/Temporary: Regular (R)

 * Status: Active

Comment       

Source of Creation: No Selection

Organization:

ñ        Company:

ñ        Business Unit:

ñ        Division:

ñ        Department:

ñ        Location:

ñ        Cost Center:


Once the position is created and goes for the approvals.

Once approved, we can go to Admin Center Drop down and look for the Org Chart.


Under Org Chart, select Position Org chart and search for the Position code will be generated in the system.


So, End of this topic we have learned how to create different Organization Structures or different types of components of the Org Structure like Legal Entity, Business Unit, Division, Department, Location and Cost Center and also we created a Position and observed how it appears in the Position Chart.